Valve guides are critical for engine performance, ensuring proper valve alignment and preventing oil leakage. Their installation requires precision to maintain engine efficiency and prevent future damage.
1.1 Understanding the Importance of Valve Guides
Valve guides play a crucial role in engine performance by ensuring proper valve alignment and preventing oil leakage. They facilitate smooth engine operation, reduce wear on moving parts, and maintain optimal combustion efficiency. Over time, worn or damaged guides can lead to poor engine performance, increased oil consumption, and higher emissions. Replacing them is essential to restore engine efficiency and prevent further damage to related components.
1.2 Brief Overview of the Installation Process
The installation of valve guides involves several key steps, starting with engine preparation and component disconnection. Old guides are removed using specialized tools, and the area is inspected for damage. New guides are measured and fitted to ensure proper alignment before being pressed or driven into place. Reassembly follows, with final checks for leaks and functionality. Precision and care are essential to ensure a successful installation and optimal engine performance.
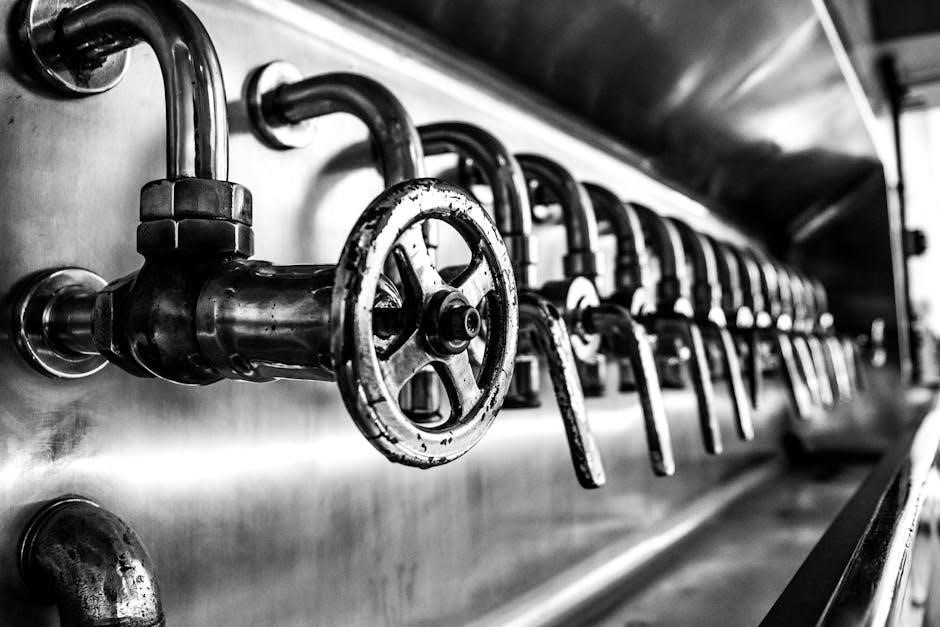
Tools and Materials Needed
Essential tools include a valve guide driver, press, and measuring instruments. Materials required are new valve guides, sealants, and possibly guide sleeves for proper installation.
2.1 Essential Tools for the Job
The installation process requires specific tools, including a valve guide driver, hydraulic press, and precision measuring tools like calipers and micrometers. Additional tools such as punches, drifts, and a torque wrench are also necessary. These tools ensure accurate alignment, proper seating, and secure installation of the valve guides, minimizing the risk of damage to the engine components during the procedure.
2.2 Required Materials and Parts
The essential materials include new valve guides, valve guide seals, and gaskets. Additional components like O-rings, lubricants, and threadlocker may be needed. Ensure the new guides match the engine specifications for diameter and length. Measurement tools, such as calipers or micrometers, are crucial for verifying fitment. Alignment tools and replacement parts, like valve keepers or seats, should also be on hand to address any unexpected issues during installation.

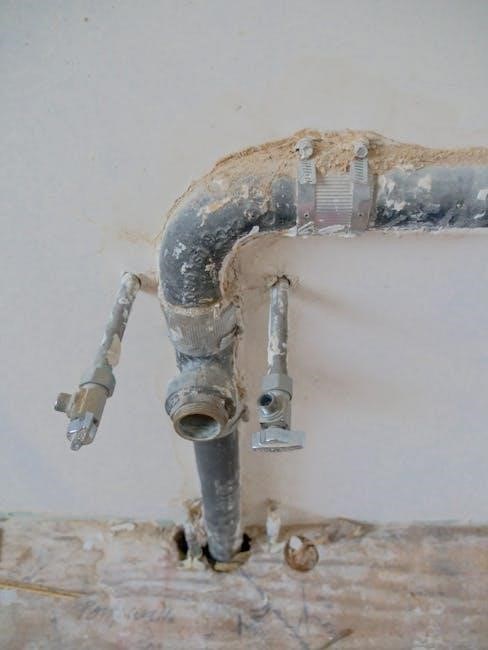
Preparing the Engine
Preparing the engine involves disconnecting components and thoroughly cleaning the area around the cylinder head to ensure a clean, safe workspace for valve guide installation.
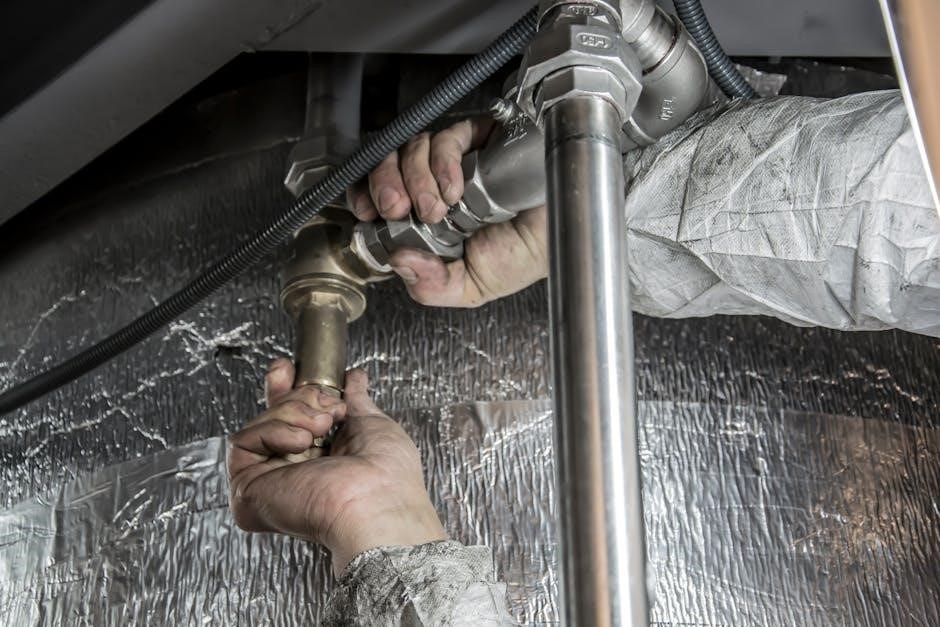
3.1 Disconnecting and Removing Components
Disconnecting components like the intake manifold and exhaust system is essential for clear access to the cylinder head. Remove spark plugs and any wiring harnesses to prevent interference. Ensure all connections are safely detached to avoid damage during the valve guide installation process. Proper labeling and organization of removed parts will facilitate easier reassembly later. This step is crucial for a smooth and successful installation.
3.2 Cleaning the Engine and Cylinder Head
Cleaning the engine and cylinder head is vital for a successful valve guide installation. Use solvents and a wire brush to remove old gasket material and carbon deposits. Ensure all surfaces are free from debris to prevent contamination. A clean environment guarantees proper seating of the new guides and ensures optimal engine performance. This step is crucial for avoiding future issues with valve alignment and engine functionality.

Removing the Old Valve Guides
Removing old valve guides requires careful extraction to avoid damaging the surrounding area. Techniques include using specialized tools or applying heat to loosen stuck components safely.
4.1 Techniques for Extracting Stuck Guides
Stuck valve guides often require careful extraction to prevent damage. Techniques include applying heat to loosen the guide, using a pilot bearing or slide hammer, or carefully drilling out the old guide. These methods ensure safe removal without damaging the engine block or surrounding components. Proper tools and caution are essential to avoid costly repairs.
4.2 Inspecting the Area for Damage
After removing the old valve guides, inspect the engine block and cylinder head for any damage. Check for scoring, cracks, or excessive wear. Use a magnifying glass or bore gauge to assess the area. Clean the surface thoroughly to ensure an accurate inspection. If damage is found, it may require machining or replacement before installing new guides to ensure proper seating and function;
Measuring and Fitting New Valve Guides
Use a micrometer or bore gauge to measure the engine block for proper guide fit. Select guides that match the measured dimensions for a snug, secure installation.
5.1 How to Measure for Proper Fit
Measure the engine block’s valve guide bore using a precision micrometer or bore gauge. Record the internal diameter to ensure the new guide matches perfectly. Compare the measurements with the manufacturer’s specifications to confirm compatibility. Proper fitment is crucial for optimal engine performance and to prevent excessive wear or leakage. Always double-check your measurements to avoid installation issues later.
5.2 Aligning and Testing the Guides
Align the new valve guides with the valve seat to ensure proper seating and alignment. Use a dial indicator to measure any runout or misalignment. Test the guides by gently rocking the valve stem to check for proper fit and movement. Ensure there is no excessive play or binding, as this can lead to premature wear or engine damage. Proper alignment is key for optimal engine performance and longevity.
Installing the New Valve Guides
Install the new valve guides using a driver or press, ensuring proper seating and alignment. Apply the correct force to seat them fully, verifying alignment to prevent future issues.
6.1 Using a Driver or Press for Installation
To install new valve guides, use a specialized driver or hydraulic press. Align the guide with the cylinder head’s bore, ensuring it’s centered. Apply steady, even pressure to avoid tilting or damaging the guide. If using a press, set it to the correct diameter to fit snugly. Always follow manufacturer guidelines for the recommended installation force to ensure a secure fit without over-tightening, which could lead to premature wear or cracking. Proper seating is crucial for optimal engine performance and longevity, so verify the guide’s alignment post-installation to prevent future issues.
6.2 Ensuring Proper Alignment and Seating
Ensuring proper alignment and seating is crucial for successful valve guide installation. Use a guide or pilot tool to maintain straight alignment during the process. Carefully press the guide into the cylinder head, verifying even seating without forcing it. Check fitment with a depth gauge to ensure correct positioning and alignment. Proper seating prevents engine damage and ensures optimal performance. Inspect the area post-installation to confirm the guide is securely seated and aligned.
Reassembling the Engine
Reassembling the engine involves reinstalling components, ensuring they’re securely tightened, and verifying all connections are leak-free to restore proper engine function.
7.1 Reinstalling Components
Reinstalling components after valve guide installation is essential for restoring engine functionality.
- Ensure all parts are clean and free from debris.
- Reinstall intake and exhaust valves, rocker arms, and other components removed during the process.
- Tighten all bolts in a star pattern to manufacturer’s torque specifications.
- Check valve clearances for proper alignment and functionality.
7.2 Checking for Leaks and Proper Function
After reinstalling components, perform a thorough inspection to ensure no leaks and proper functionality.
- Use a compression test to verify cylinder sealing.
- Check for valve train noise, which may indicate improper alignment.
- Inspect gaskets and seals for any signs of leakage.
- Ensure valves open and close smoothly without resistance.
Proper function ensures optimal engine performance and longevity.
Final Testing and Inspection
Run the engine under load to test performance, monitor for unusual noises or leaks, and ensure all components function within specified tolerances for optimal operation.
8.1 Running the Engine to Test Performance
After installation, start the engine and let it run at idle for a few minutes. Gradually increase RPM to test for any unusual noises or vibrations. Check for oil leaks around the valve guides and ensure smooth operation. A properly running engine indicates successful installation and alignment of the new valve guides.

8.2 Inspecting for Any Issues
After running the engine, inspect for any signs of leakage around the valve guides. Listen for unusual noises, such as tapping or clattering, which may indicate improper seating. Visually verify that all components are properly aligned and seated. If everything functions correctly, the installation is successful. Address any issues promptly to prevent further engine damage or performance problems.
Proper valve guide installation ensures optimal engine performance and longevity. Regular inspections and lubrication help prevent wear, while addressing issues promptly avoids costly repairs and maintains efficiency.
9.1 Summary of the Installation Process
Installing valve guides involves precise preparation, removal of old guides, and careful fitting of new ones. Proper tools like drivers or presses ensure alignment and seating. After installation, reassemble the engine, check for leaks, and test performance. Regular maintenance, including inspections and lubrication, is crucial for longevity. This process ensures optimal engine function, prevents oil leakage, and maintains overall efficiency, avoiding costly future repairs and extending engine life effectively.
9.2 Tips for Maintaining Valve Guides

Regular inspections and cleaning are essential to prevent wear and tear. Ensure proper lubrication to reduce friction and avoid contamination. Avoid excessive heat, which can damage guides. Replace worn or damaged guides promptly to prevent engine performance issues. Use high-quality materials for longevity. Keep the engine well-maintained to avoid secondary damage. Regular servicing and monitoring can extend the life of valve guides and maintain optimal engine function effectively.