Welcome to the PAR40MAUUU thermostat installation manual. This guide provides a comprehensive overview of the thermostat’s features, installation steps, and troubleshooting tips to ensure optimal performance. Designed for modern HVAC systems, the PAR40MAUUU offers precise temperature control and advanced programmable settings, making it an efficient and user-friendly solution for home comfort. Follow the instructions carefully to ensure proper setup and operation.
Overview of the PAR40MAUUU Thermostat
The PAR40MAUUU thermostat is a programmable, modern device designed for precise temperature control. Featuring a sleek, rectangular design, it utilizes advanced temperature sensor technology for accurate readings and efficient operation. With remote control capabilities and a digital interface, this thermostat offers convenient management of your HVAC system. It supports programmable settings, allowing users to customize temperature schedules for optimal comfort and energy savings. The PAR40MAUUU is compatible with a wide range of HVAC systems, making it a versatile choice for homeowners. Its energy-efficient design helps reduce heating and cooling costs while maintaining consistent indoor temperatures. This thermostat is ideal for those seeking a balance of functionality, ease of use, and modern features.
System Requirements
The PAR40MAUUU thermostat requires compatibility with standard HVAC systems and operates on 24V AC power. Ensure your system meets these specifications for optimal performance and safe installation.
Compatibility with HVAC Systems
The PAR40MAUUU thermostat is designed to work seamlessly with most standard HVAC systems, including forced-air, heat pumps, and radiant floor systems. It is compatible with both single-stage and multi-stage systems, ensuring versatility for various home configurations. The thermostat supports gas, electric, and oil-fired heating systems, as well as cooling systems with up to two stages of operation. Ensure your HVAC system operates on 24V AC power, as the PAR40MAUUU is not compatible with line voltage or direct current systems. Always verify compatibility with your specific HVAC setup before proceeding with installation to avoid any operational issues.
Power Requirements and Voltage
The PAR40MAUUU thermostat requires a 24V AC power supply, ensuring compatibility with most standard HVAC systems. It operates within a voltage range of 20V to 30V AC, with a minimum current rating of 20VA. The thermostat is designed to work with systems using a common “C” wire for consistent power delivery. If your system does not have a “C” wire, a power converter or battery pack may be required. Always verify the voltage and power requirements of your HVAC system before installation to prevent damage or malfunction. Proper power supply is critical for reliable performance and functionality.
Installation Process

The PAR40MAUUU installation requires gathering tools, verifying system compatibility, and following detailed steps for a safe and proper setup, ensuring all components are included.
Pre-Installation Checklist
Before installing the PAR40MAUUU thermostat, ensure the following steps are completed: Verify compatibility with your HVAC system, confirm 24V AC power supply, and gather necessary tools like screwdrivers and wire strippers. Turn off power to the HVAC system at the circuit breaker to ensure safe installation. Remove the old thermostat and label the wires for easy identification. Check the wall for any obstructions and ensure it is level. Review the manual thoroughly and ensure all components, such as the wall plate and mounting screws, are included. Keep the original thermostat as a reference during the process. This preparation ensures a smooth installation.

Unboxing and Inventory of Components
Upon opening the PAR40MAUUU thermostat box, carefully inspect and verify all components; The package includes the thermostat unit, a wall plate, mounting screws, wire connectors, and a user manual. Ensure no items are damaged or missing. The thermostat unit features a digital display and touch controls for easy navigation. The wall plate is designed for secure mounting on standard electrical boxes. Wire connectors are provided for safe and reliable wiring connections. The manual contains detailed installation instructions and troubleshooting guides. Organize all components to streamline the installation process. Properly handle each part to avoid damage and ensure a successful setup.
Physical Installation Steps
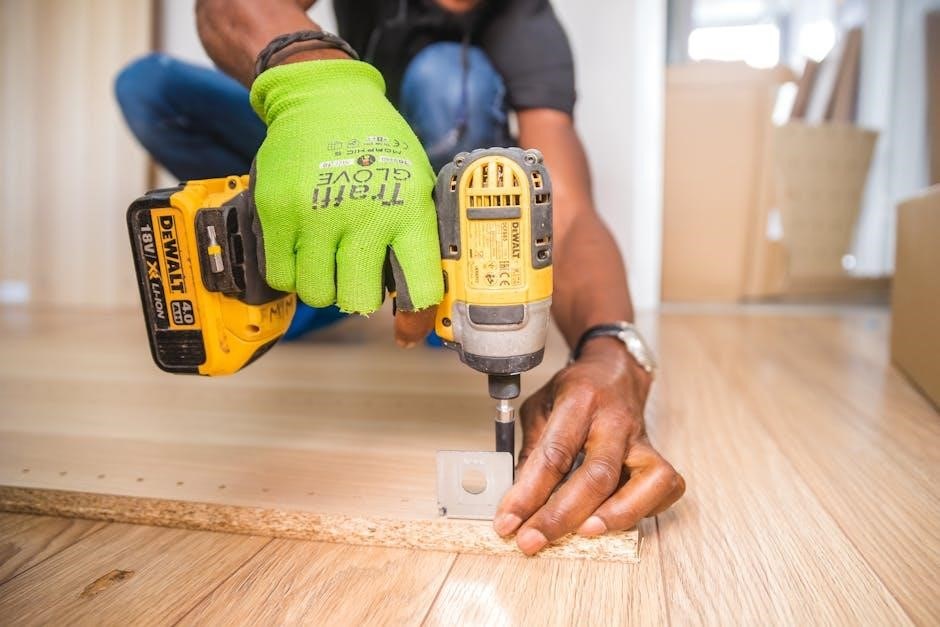
Begin by turning off the power to your HVAC system at the circuit breaker. Remove the old thermostat carefully, taking note of the wire connections. Install the wall plate on the electrical box using the provided screws. Mount the new PAR40MAUUU thermostat onto the wall plate, ensuring it is level and secure. Reconnect the wires to their corresponding terminals, matching the labels from the old thermostat. Tighten all connections firmly to avoid loose wires. Once installed, restore power to the system and test the thermostat by adjusting the temperature settings. Verify proper operation by checking if the HVAC system responds correctly to temperature changes.
MOUNTING THE THERMOSTAT
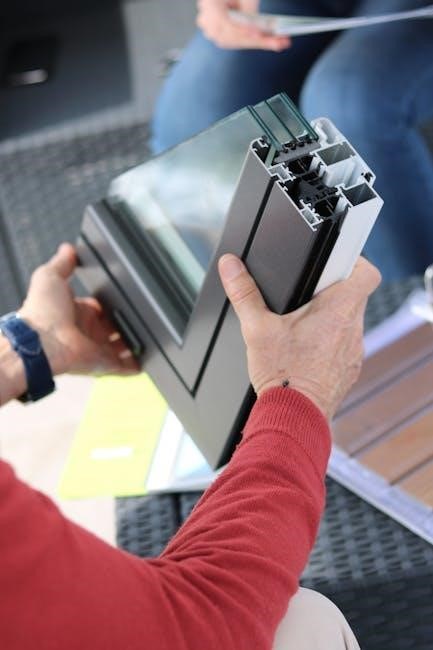
Mounting the PAR40MAUUU thermostat begins with placing the wall plate on the electrical box. Align the thermostat body with the wall plate, ensuring it is straight and level. Secure the thermostat to the wall plate using the provided screws. Tighten the screws firmly to ensure stability; If necessary, use the included spacers to achieve proper alignment. Once mounted, double-check that the thermostat is level to ensure accurate temperature readings. Make sure all components are securely fastened to avoid any movement or wobbling. Proper mounting is essential for reliable operation and precise temperature control. Follow these steps carefully to complete the mounting process successfully.
WIRING AND CONNECTIONS

When installing the PAR40MAUUU thermostat, begin by disconnecting the power supply to your HVAC system for safety. Carefully remove the wires from your old thermostat and label them according to their functions (e.g., heating, cooling, fan). Mount the new thermostat’s wall plate, ensuring it is level and secure. Connect the labeled wires to the corresponding terminals on the PAR40MAUUU thermostat, matching each wire’s function to the correct terminal. If your system requires a common wire, ensure it is connected to the ‘C’ terminal. Double-check all connections for accuracy. Once wired, restore power and test the thermostat to confirm proper operation. If issues arise, consult the manual or seek professional assistance to avoid system damage.
Configuration and Setup
After installation, configure the PAR40MAUUU thermostat by setting the date, time, and preferred temperature ranges. Use the touchscreen interface to program schedules and customize settings for optimal comfort and energy efficiency.
Initial Configuration and Settings
Begin by powering on the thermostat and following the on-screen prompts to set the date, time, and temperature units. Choose between Fahrenheit or Celsius. Next, select your preferred temperature range for heating and cooling modes. Program daily schedules by assigning specific temperatures for different times of the day, optimizing energy use. Enable features like smart recovery, which learns your system’s behavior to reach desired temperatures efficiently. Ensure all settings are saved before proceeding to avoid losing your configurations. These initial steps ensure seamless operation and personalized comfort tailored to your lifestyle and preferences.
Final Checks and Testing
After completing the installation and initial configuration, perform a thorough system test. Verify that the thermostat responds correctly to temperature adjustments and schedule changes. Check all wiring connections to ensure they are secure and properly insulated. Test both heating and cooling modes to confirm they activate as expected. Review error codes if any appear, and consult the troubleshooting section for solutions. Ensure the thermostat’s digital display is clear and responsive. Finally, confirm that safety features, such as automatic shutdown in case of system malfunctions, are functioning. These checks ensure your PAR40MAUUU thermostat is installed correctly, operates safely, and meets your comfort needs.
Troubleshooting
Troubleshooting the PAR40MAUUU involves identifying common issues like temperature discrepancies or display malfunctions. Refer to error codes for specific solutions, ensuring proper system functionality and user safety.
Common Issues and Solutions
Common issues with the PAR40MAUUU thermostat include temperature discrepancies, display malfunctions, and wiring problems. For temperature discrepancies, ensure proper sensor calibration and check HVAC system connectivity. Display issues may require resetting the thermostat or updating firmware. Wiring problems can often be resolved by verifying connections and consulting the wiring diagram. If errors persist, refer to the error codes section for detailed troubleshooting guidance. Always follow safety precautions when handling electrical components to avoid further issues. Regular maintenance, such as cleaning sensors and updating software, can prevent many common problems. If unresolved, contact customer support for professional assistance.
ERROR CODES AND THEIR MEANINGS
The PAR40MAUUU thermostat displays error codes to indicate specific issues. Code E1 signifies a temperature sensor malfunction, while E2 points to communication errors with the HVAC system. Code E3 indicates power supply issues, and E4 suggests wiring problems. Code E5 refers to software glitches, requiring a system reset or firmware update. Code E6 indicates overheating, and E7 signals a malfunction in the thermostat’s display. For each error, refer to the troubleshooting section for detailed solutions. If issues persist, contact customer support for professional assistance. Regular maintenance and updates can help minimize these errors and ensure optimal performance of your thermostat.
Safety Precautions
Always turn off power to the HVAC system before installation or maintenance. Avoid touching electrical components to prevent shocks. Use proper grounding and follow safety guidelines to ensure safe handling of the thermostat and its wiring.
Handling Electrical Components Safely
When handling electrical components of the PAR40MAUUU thermostat, ensure the power supply is completely turned off. Verify this using a voltage tester to avoid unexpected shocks. Wear insulated gloves and use non-conductive tools to prevent accidental electrical contact. Never touch wires or terminals with bare hands, as this can cause injury or damage the system. If unsure about any step, consult a licensed electrician. Proper grounding is essential to prevent electrical hazards. Follow all safety guidelines to ensure safe installation and maintenance of the thermostat and its associated wiring.
Maintenance Tips
Regular maintenance ensures the PAR40MAUUU thermostat operates efficiently. Clean the display screen with a soft cloth and mild detergent to maintain visibility. Check and replace the batteries annually if applicable. Inspect wiring connections for signs of wear or damage. Update the thermostat software periodically to access new features and improvements. Ensure proper airflow around the device by keeping surrounding areas clear. Calibrate the temperature sensor every 6-12 months for accuracy. Schedule professional HVAC system maintenance to complement thermostat performance. By following these tips, you can extend the lifespan and optimize the functionality of your PAR40MAUUU thermostat.