Briggs & Stratton engines power countless tools! Successful repairs often hinge on accessing the correct documentation, like a repair manual, for effective troubleshooting and maintenance.
Understanding Briggs & Stratton Engines
Briggs & Stratton engines, renowned for their reliability, utilize primarily small, air-cooled, single-cylinder designs. However, variations exist, including V-twins and larger displacement models. Repair manuals detail these differences, crucial for accurate diagnosis. Understanding the specific engine series – like Professional Series – is vital. These manuals illustrate component layouts, explaining how systems interact, aiding in successful repairs and preventative maintenance procedures.
Importance of a Repair Manual
A Briggs & Stratton repair manual is indispensable! It provides detailed instructions, diagrams, and specifications essential for correct disassembly, repair, and reassembly. Manuals used by authorized service centers ensure professional-level results. They cover everything from carburetor adjustments to valve grinding, preventing damage and ensuring safety. Accessing the right manual, specific to your engine model, is the first step towards successful repairs.

Locating Briggs & Stratton Repair Manuals
Finding manuals involves several avenues: the official website, Internet Archive, and online communities like Reddit (r/lawnmowers) often host downloadable PDFs.
Official Briggs & Stratton Website
The official Briggs & Stratton website is a primary resource, though navigation can sometimes be challenging. Users may need to register for an account to access certain documentation. Searching by model number is crucial for pinpointing the correct manual. While comprehensive, the site doesn’t always offer older manuals readily available. Expect to find operator’s manuals and some repair guides, but availability varies significantly depending on the engine’s age and series.
Online Archives: Internet Archive
The Internet Archive hosts a wealth of digitized manuals, including many for Briggs & Stratton engines. Resources like the “Briggs Stratton PROFESSIONAL SERIES 120000 Repair manual” are available for download in various formats (PDF, JP2, TORRENT). This archive is invaluable for locating older or out-of-print manuals not found elsewhere, offering a broad collection contributed by users over time.
Reddit Communities (r/lawnmowers) for Manual Links
The r/lawnmowers subreddit frequently shares links to digital Briggs & Stratton repair manuals. Users have compiled folders, like one containing four manuals totaling 35MB, hosted on platforms like Google Drive. While download access can vary, these communities offer a collaborative resource for finding manuals and assistance from fellow enthusiasts.
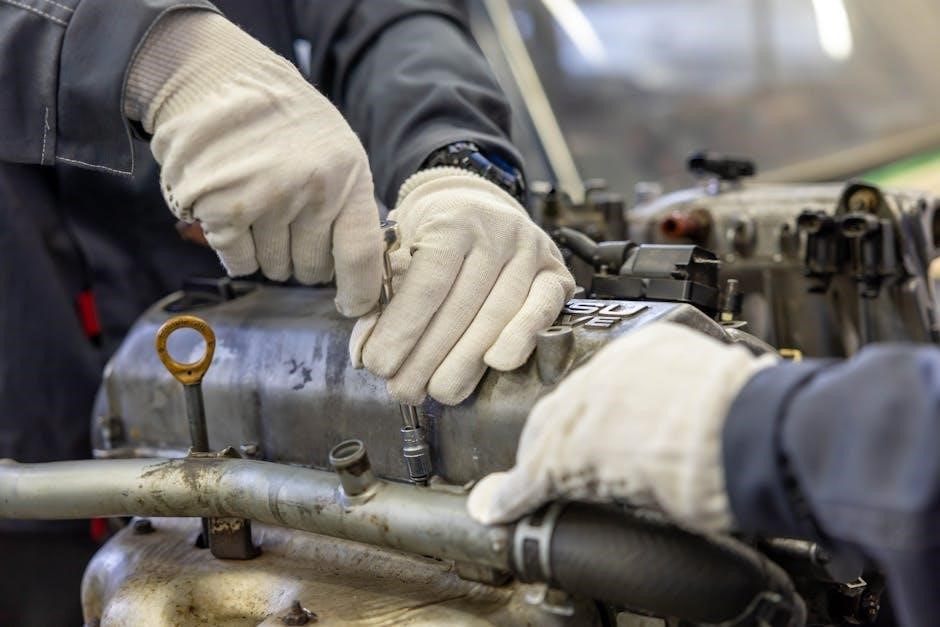
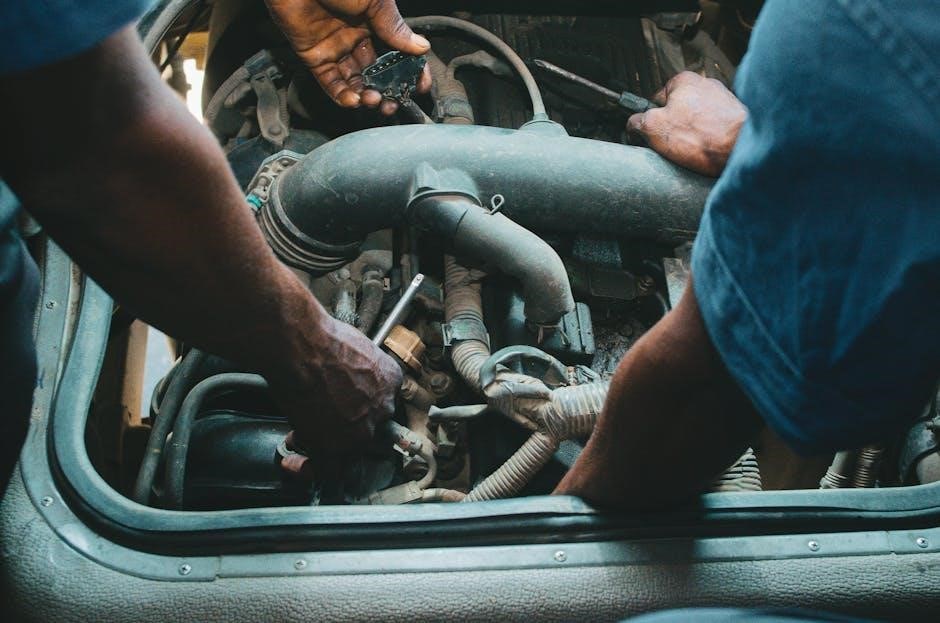
Essential Tools for Briggs & Stratton Repair
Successful engine repair demands both basic hand tools and specialized equipment, such as a flywheel puller and compression tester, for accurate diagnostics.
Basic Hand Tools
A solid foundation for Briggs & Stratton repair begins with a comprehensive set of hand tools. This includes various sizes of wrenches (both open-end and box-end), screwdrivers (Phillips and flathead), pliers, sockets, and a ratchet. A torque wrench is crucial for tightening fasteners to the correct specifications, preventing damage. Don’t forget essential items like a hammer, punch set, and feeler gauges for valve adjustments. Having quality tools ensures efficient and safe repairs.
Specialized Tools (Flywheel Puller, Compression Tester)
Beyond basic hand tools, certain repairs demand specialized equipment. A flywheel puller is essential for removing the flywheel, enabling access to the ignition system and other components. A compression tester accurately measures cylinder compression, diagnosing potential engine issues. Valve lapping tools, a timing light, and multimeter are also incredibly useful. Investing in these tools expands your repair capabilities significantly.
Common Briggs & Stratton Engine Problems
Frequently encountered issues include difficult starting, often due to carburetor problems, and a noticeable loss of power, potentially stemming from ignition or valve issues.
Starting Issues
Briggs & Stratton engines failing to start often point to fuel delivery problems. A clogged carburetor is a common culprit, restricting fuel flow. Spark plug issues, such as fouling or damage, can also prevent ignition. Low compression, potentially caused by worn piston rings or valve problems, hinders starting. Always check the fuel shut-off valve position and ensure fresh fuel is present before diagnosing further.
Loss of Power
Briggs & Stratton engines experiencing power loss frequently indicate carburetor issues, like a partially blocked jet. A dirty air filter restricts airflow, creating a rich fuel mixture. Worn or damaged spark plugs diminish combustion efficiency. Low compression, stemming from valve problems or piston ring wear, significantly reduces power output. Inspect the muffler for blockage as well.
Repair Procedures: Carburetor
Carburetor issues are common! Thorough cleaning removes debris, restoring fuel flow. Precise adjustment ensures the correct air-fuel mixture for optimal engine performance.
Carburetor Cleaning
Disassembly is the first step; carefully note component placement. Use carburetor cleaner, soaking parts to dissolve varnish and residue. Compressed air effectively clears passages, ensuring unobstructed fuel flow. Pay close attention to jets and nozzles – these are prone to clogging. Reassemble with new gaskets if necessary, guaranteeing a proper seal. A clean carburetor is vital for smooth engine operation and efficient fuel consumption.
Carburetor Adjustment
Proper adjustment ensures optimal air-fuel mixture for peak performance. Begin by warming the engine, then adjust the idle speed screw for a stable, consistent idle. Fine-tune the mixture screw – lean for higher speeds, rich for lower. Observe the engine’s response; smooth acceleration indicates correct settings. Consult your manual for specific adjustment procedures based on your engine model.
Repair Procedures: Ignition System
A faulty ignition prevents starting. Key steps include spark plug replacement and coil testing to verify proper functionality, ensuring reliable combustion.
Spark Plug Replacement
Replacing the spark plug is a fundamental maintenance task. First, disconnect the spark plug wire, then use a spark plug socket to remove the old plug. Check the gap of the new plug against the engine’s specifications – often found in the repair manual – and adjust if necessary. Carefully thread the new plug in by hand to avoid cross-threading, then tighten it to the correct torque. Reconnect the wire securely.
Coil Testing
Testing the ignition coil verifies its ability to generate a spark. Disconnect the spark plug wire and use an insulated tool to ground the coil’s body. With the engine off, pull the starter rope and observe for a strong, blue spark at the spark plug gap. A weak or absent spark indicates a faulty coil needing replacement, referencing the repair manual for specific procedures.
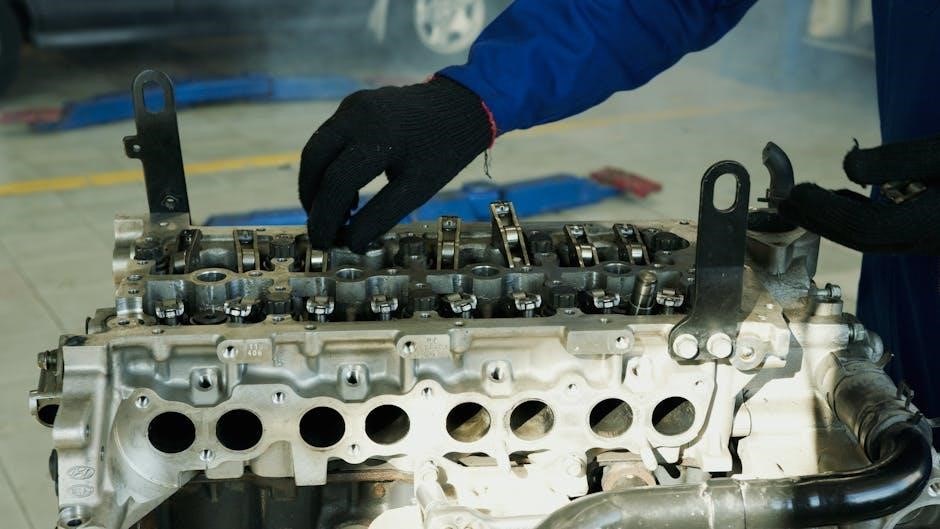
Repair Procedures: Valve System
Valve system repairs involve precise adjustments and, sometimes, grinding. A repair manual guides proper clearance settings and procedures for optimal engine compression and performance.
Valve Adjustment
Proper valve adjustment is crucial for engine efficiency. A Briggs & Stratton repair manual details the specific clearance specifications for each engine model, typically using feeler gauges. Incorrect settings lead to poor performance, overheating, or even engine damage. The manual illustrates the process, including locating the adjustment points and tightening the locknuts to secure the settings after rotation.
Valve Grinding
Valve grinding restores sealing surfaces when valves and seats are pitted or carbonized. A Briggs & Stratton repair manual guides this process, utilizing a valve grinding compound and a valve seat grinding tool. It emphasizes consistent, circular motions to create a smooth, leak-proof seal. Proper grinding ensures optimal compression and efficient combustion, restoring engine power.

Oil Changes and Maintenance
Regular oil changes are crucial for longevity! A Briggs & Stratton manual details recommended oil types and change intervals for peak engine performance.
Recommended Oil Types
Briggs & Stratton engines generally recommend using SAE 30 oil for warmer temperatures, above 40°F (4°C). For cooler conditions, a 10W-30 oil is preferable, offering better flow in colder climates. Synthetic oils are also viable, providing enhanced protection and extended drain intervals. Always consult your specific engine’s manual – found via online archives or the official website – to confirm the correct viscosity grade for optimal performance and to avoid potential damage.
Oil Change Frequency
Briggs & Stratton suggests changing the oil after every 25-50 hours of operation, or at least once per year, whichever comes first. For severe conditions – dusty environments or heavy loads – more frequent changes are advisable. Referencing your repair manual, sourced from resources like the Internet Archive, will detail specific intervals. Regular oil changes are crucial for maintaining engine longevity and preventing costly repairs, ensuring smooth operation.
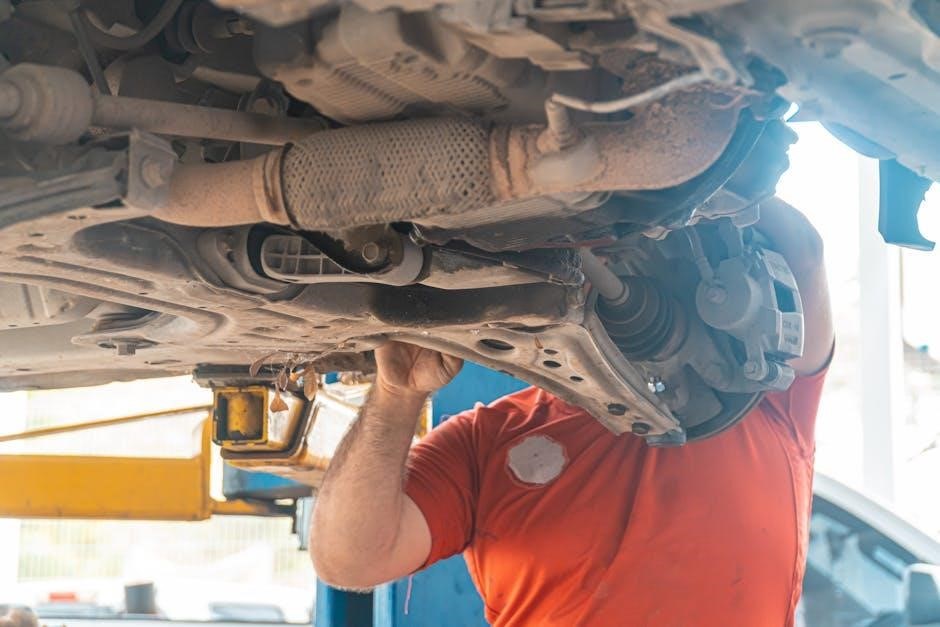
Safety Precautions During Repair
Always disconnect the spark plug wire before commencing any repair work! Proper fuel handling, detailed in your manual, prevents fires and ensures a safe working environment.
Disconnecting the Spark Plug
Before initiating any maintenance or repair procedures on your Briggs & Stratton engine, always disconnect the spark plug wire. This crucial step prevents accidental starting, eliminating the risk of injury from a rotating engine or electrical shock. Locate the spark plug, grasp the boot firmly—not the wire itself—and gently pull it off. Secure the wire away from the plug to avoid accidental reconnection during work. Refer to your repair manual for specific guidance related to your engine model.
Fuel Handling Safety
Gasoline is highly flammable; exercise extreme caution when handling fuel during Briggs & Stratton engine repair. Always work in a well-ventilated area, away from open flames, sparks, or heat sources. Use an approved fuel container and avoid spills. Wipe up any spills immediately with a suitable absorbent material. Never smoke while working with fuel, and properly dispose of fuel-soaked rags to prevent fire hazards. Consult your repair manual for specific fuel system precautions.
Understanding Briggs & Stratton Model Numbers
Model numbers are crucial for identifying your engine! Decoding this number ensures you find the correct parts and a compatible repair manual for successful maintenance.
Decoding the Model Number
Briggs & Stratton model numbers aren’t random; they contain valuable information! Typically, the number reveals the engine type, displacement, and manufacturing date. Understanding each section helps pinpoint specific engine characteristics. This detailed coding system allows for precise identification, ensuring you order the correct replacement parts and locate the appropriate repair manual. Accurate decoding streamlines the repair process, saving time and frustration.
Using the Model Number to Find the Correct Manual
Once decoded, your engine’s model number becomes your key to finding the right repair manual! Input this number into the official Briggs & Stratton website or online parts suppliers. This ensures compatibility, preventing issues caused by using incorrect instructions. Manuals tailored to your specific model detail procedures, diagrams, and specifications, maximizing repair success and minimizing potential damage.

Resources for Parts and Diagrams
Locate parts through Briggs & Stratton dealers and various online suppliers; diagrams within manuals and online resources aid in identifying components for repair.
Briggs & Stratton Parts Dealers
Authorized dealers offer genuine Briggs & Stratton parts, ensuring compatibility and quality for your engine repair. These dealers possess expertise to assist in identifying the correct components based on your engine’s model number. They often provide diagrams and can offer advice on repair procedures. Locating a dealer is straightforward through the official Briggs & Stratton website’s dealer locator tool, guaranteeing access to authentic parts and professional support for successful repairs.
Online Parts Suppliers
Numerous online retailers specialize in small engine parts, including those for Briggs & Stratton. These suppliers frequently offer competitive pricing and a vast inventory, often exceeding local dealer stock. When ordering online, meticulously verify the part number against your engine’s model to ensure correct fitment. Reputable suppliers provide detailed parts diagrams and efficient shipping, streamlining your repair process and minimizing downtime.
Troubleshooting Techniques
Systematic diagnosis is key! Utilize a multimeter for electrical checks and perform thorough visual inspections to identify obvious issues before diving into complex repairs.
Using a Multimeter
A multimeter is invaluable for diagnosing electrical faults within Briggs & Stratton engines. Check for continuity in wiring, ensuring a complete circuit. Verify the spark plug’s resistance, comparing it to specifications. Test the ignition coil’s output to confirm it’s producing sufficient voltage. Measure voltage drops across components to pinpoint shorts or open circuits, aiding in accurate troubleshooting and repair.
Visual Inspection
Begin with a thorough visual inspection of the Briggs & Stratton engine. Look for damaged wiring, loose connections, and corroded terminals. Examine the fuel lines for cracks or leaks. Inspect the spark plug for fouling or damage. Check the air filter for cleanliness and obstructions. A careful visual assessment often reveals obvious issues before more complex testing is needed;

Advanced Repair: Engine Rebuild
Complete engine rebuilds require specialized knowledge and tools, involving piston/ring replacement and cylinder honing for optimal performance and longevity.
Piston and Ring Replacement
During an engine rebuild, piston and ring replacement is crucial for restoring compression and power. Carefully inspect the piston for wear or damage before removal. New rings must be properly gapped to the cylinder bore, ensuring a tight seal. Proper installation techniques, utilizing a ring compressor, are essential to avoid damage during insertion. Always follow the repair manual’s torque specifications for connecting rod bolts to prevent failure.
Cylinder Honing
After piston removal, cylinder honing is vital for creating a fresh surface for new piston rings. This process removes minor imperfections and establishes the correct cross-hatch pattern for oil retention. Utilize a honing tool with the appropriate grit and follow the repair manual’s instructions carefully. Avoid excessive honing, which can alter cylinder dimensions and compromise engine performance. Proper cleaning after honing is also essential.